Developer
Shadow Launch Technology Limited
Check the developer details on the App Store product page, not just the title in search results.
A rule-based routing client for iPhone and iPad, available as a one-time purchase through the official App Store. Have your own subscription or server details ready before connecting.
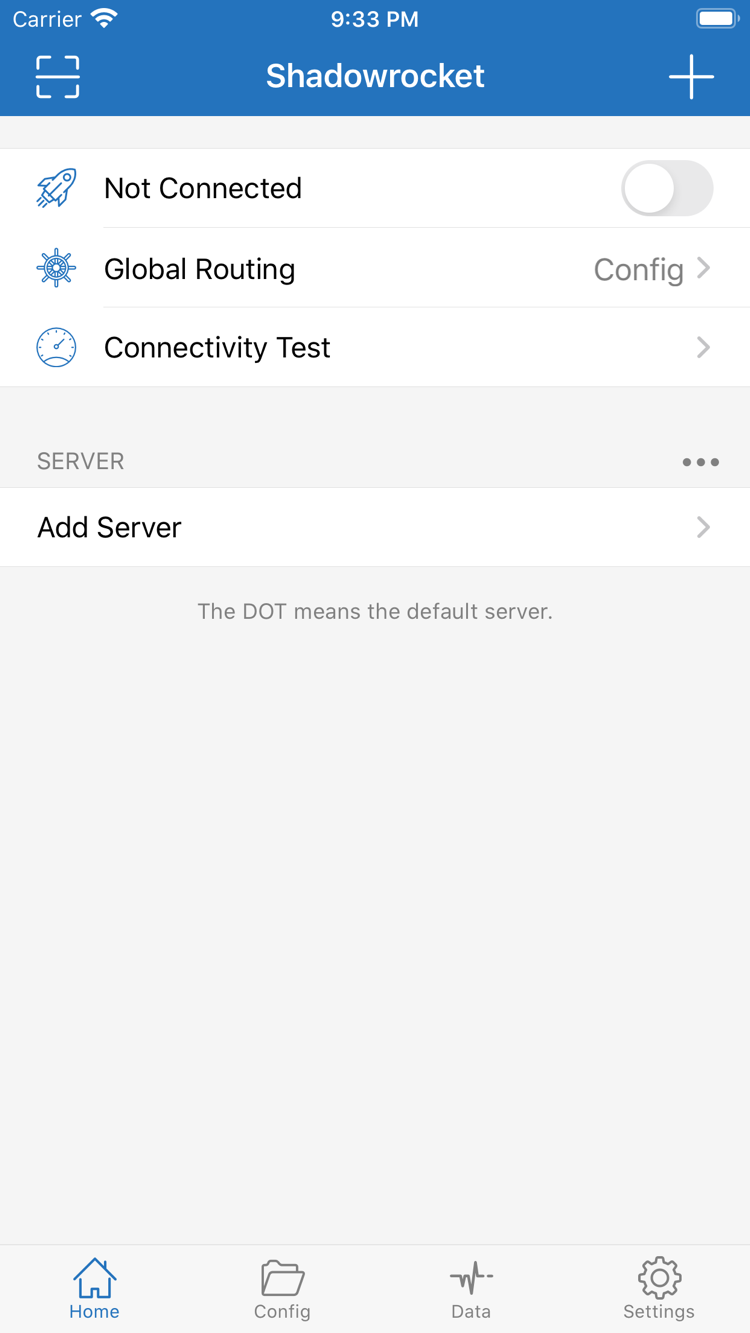
Home / Config / Settings
First, distinguish server details, configuration files, and the connection switch. Server details determine where to connect; a configuration file determines how requests are handled; the switch enables the system connection.
Check Global Routing on Home. In Config mode, requests are matched against the selected configuration file. Proxy mode routes primarily through the proxy, while Direct mode connects directly. To use rule-based routing, select a Config file first, then choose Config. Don’t confuse routing mode with server selection: the mode determines how traffic is routed, while the server provides connection details. Rules are evaluated in order; after a match, later rules are not evaluated for that request.
DOMAIN-SUFFIX,example.com,PROXYOn Demand triggers connections when configured conditions are met; it does not repair servers automatically. Check the relevant options in Settings. First confirm that a manual connection works, then set the conditions for On Demand. Test the result on your usual networks to make sure the connection starts and stops as expected. If a connection starts again after you turn it off manually, check the On Demand conditions before deleting the configuration. When troubleshooting, temporarily disable On Demand to prevent automatic actions from affecting your results.
Shadowrocket supports multiple protocols. When adding a server, use the Type specified in your existing server details. In Add Server, check Host, Port, Password, and any other fields required by the selected protocol. Authentication and transport parameters vary by protocol and can’t be interchanged based on the protocol name alone. Changing Type won’t fix an unexplained connection issue. Import a valid configuration of your own first, then compare each field with the original details. Protocol support means the client can handle that connection method; it doesn’t mean a working server or subscription is included with the app purchase.
Subscribe imports and updates a subscription you already have. On Home, open Add Server, select Subscribe in the current interface, and enter your own subscription URL. After saving, make sure the server entry appears, then select one to test the connection. A failed subscription update and a failed server connection occur at different stages: for an update issue, check the URL, its validity, and whether your current network can access it; for a connection issue, check the specific connection parameters. Subscription URLs may contain access credentials. Don’t share them publicly or confuse them with a regular configuration file URL.
Config manages configuration files that determine how requests are handled. Common sections include General, rules, Host mappings, and URL Rewrite. After importing a file, confirm that it’s selected and that Global Routing is set to Config. Keep a recoverable copy before editing rules, change one thing at a time, and test the affected request. Before using iCloud sync or backup options, check what the app can sync and the status of your account. Don’t assume another device has the same server details, files, or enabled settings.
[Rule]
GEOIP,CN,DIRECT
FINAL,DIRECT
Connectivity Test can check connection responsiveness, but its results don’t replace testing an actual webpage. In Settings, check Test Method first, then compare results on the same network. Results from different test methods may not be directly comparable. Data shows traffic activity; use it with connection records to check whether requests follow the expected policy. If the latency test succeeds but a webpage won’t load, continue by checking DNS, rule matches, and the destination connection. If you need to share Diagnostics information, include only what’s relevant and redact subscription URLs and authentication details.
For initial setup, don’t change every setting at once. Start with your existing subscription or server details and confirm they’re complete and still valid. To add a server manually, enter the server address in Host and the port in Port. Fill in authentication fields using the original details; don’t substitute a webpage URL, subscription URL, or server address for one another. After importing with Scan QR Code, check Type and the key fields as well. Scanning only confirms that the details were read; it doesn’t verify the connection.
Return to Home and confirm the server you’re using, then check Global Routing. If you have a reliable rules file, you can select Config. When troubleshooting a specific connection, note the current mode and file so you can track what changes during testing. The first time you enable the connection, the system may ask for permission to add a VPN configuration. This authorization allows the app to create a system network connection. After granting permission, return to the app and check the switch state.
Verify in two stages. First, use Connectivity Test to confirm that the selected server responds on your current network. Then open the webpage you need to access and confirm that DNS resolution, the connection, and the routing policy work together. A test response doesn’t mean every website is accessible; a webpage loading doesn’t mean every request follows the same rule. Troubleshoot rules against the specific domain and request.
If the result isn’t what you expected, return to the last confirmed working state and change one thing at a time. If a subscription won’t update, check whether it can be retrieved. If the entry is present but the test times out, check the server parameters and current network. If the test succeeds but a page fails, check DNS and routing. If the switch keeps turning back on, check On Demand. Identifying the stage where the problem occurs is more effective than repeatedly importing the same details. See the user guide for the full setup and the troubleshooting guide for issue-specific steps.
App Store / Devices
Shadowrocket is available only on Apple platforms, exclusively through the App Store. Check the store’s compatibility information and your purchase status, then install and complete the initial authorization on your device.
See how to verify the App Store listing, open the app for the first time, and authorize the VPN configuration. Check the App Store page for system requirements.
View the guide →You can redownload the app from your purchased items using the same Apple ID. After installing, check the configuration and authorization separately. See the App Store page for system requirements.
View the guide →Shadowrocket is also available for Mac and Apple TV through the same App Store. Check the App Store page for compatibility, system requirements, and purchase eligibility.
After buying Shadowrocket on iPhone, check the Apple ID used for the App Store purchase when moving to iPad. The iCloud account signed in on a device may differ from the account used for store purchases, so the account shown at the top of Settings doesn’t confirm which account owns the purchase. Open your purchased items and find Shadowrocket to redownload it. If the store still shows a purchase price, check the account and purchase history before paying again. The App Store page is the final source for purchase eligibility.
Being able to redownload the app doesn’t mean the new device is configured for network access. After installing on iPad, check the server entry on Home, the selected file in Config, and the system authorization status. The layout may differ in landscape orientation, but use the English interface labels Home, Config, and Settings to find the relevant options. Don’t rely on screen coordinates in a tutorial image. Confirm which page you’re on, then check the setting name.
When moving to a new device, keep the working configuration on the original device. Decide whether to remove the old data only after confirming that the new device connects successfully. If you use the app’s iCloud sync or backup features, confirm that syncing is complete and covers the right data, then test both devices. Purchase history, configuration data, and system VPN authorization are separate steps; completing one doesn’t mean the others are done.
Identity / Purchase / Restore
Shadowrocket is a closed-source commercial app. Use its App Store product page to verify the app. Purchases, updates, and redownloads are handled through the App Store.
Shadow Launch Technology Limited
Check the developer details on the App Store product page, not just the title in search results.
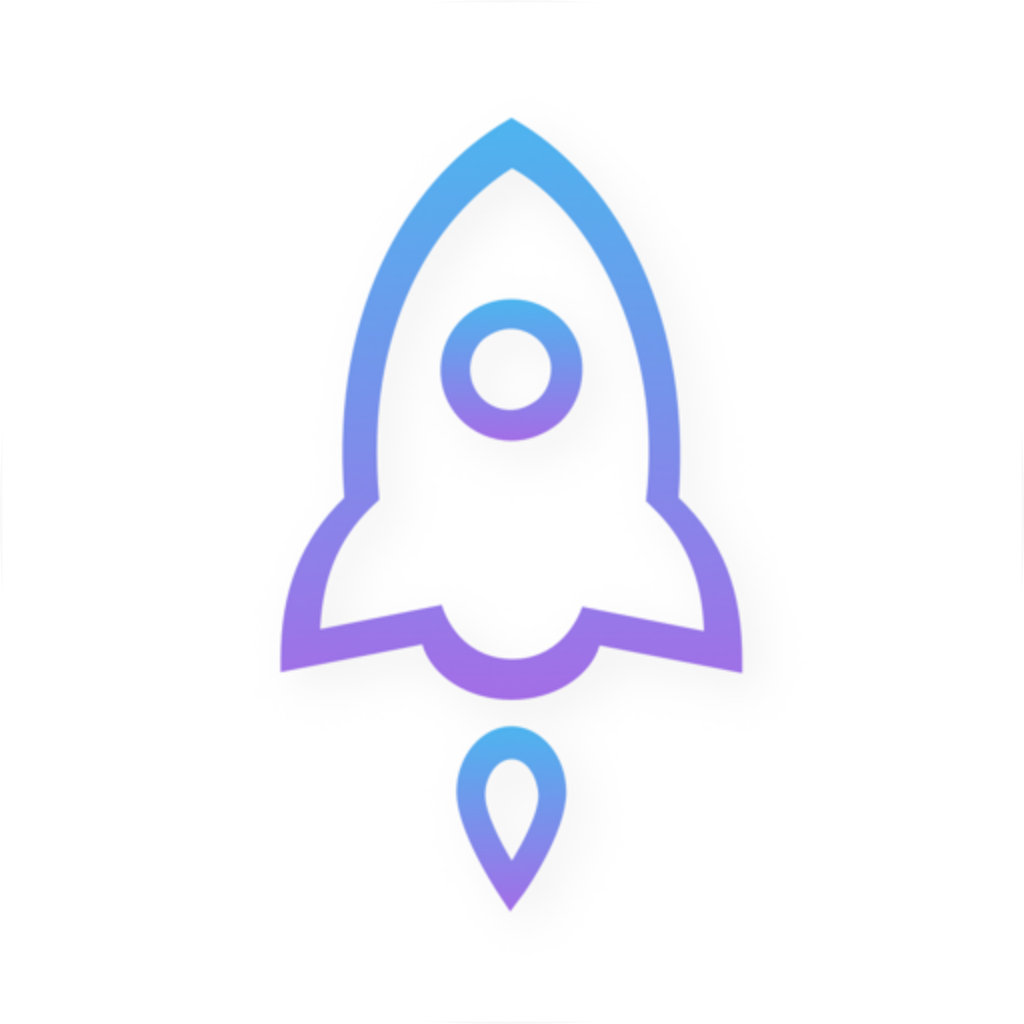
Compare the white icon with its blue-purple outline, then verify the developer and app ID.
932747118
The product page URL should contain id932747118.
A name in search results can help you find the app, but it isn’t enough to verify it. On the App Store product page, check the Shadowrocket name, official icon, developer Shadow Launch Technology Limited, and app ID 932747118. A similar name doesn’t necessarily mean it’s the same product. If you open the page in a browser and it redirects to the App Store, check the app shown in the store too. Start the purchase only after confirming the details match.
The app ID identifies the specific store product, the developer name confirms who provides it, and the icon helps you recognize it. Check all three rather than relying on a single image or description. Our App Store guide covers the verification steps. If you’re getting the app for the first time, read the App Store verification guide before using the store button to open the product page. The current App Store page is the source for the purchase price, compatible devices, and system requirements.
Whether you can see Shadowrocket in the App Store depends on the current storefront and account status. Being able to open the product page in a browser doesn’t necessarily mean your account can purchase it from that storefront. If you can’t find the app, first check the account and region used for App Store purchases, then make sure you’ve opened the correct product page. Don’t assume that a missing search result means your device is misconfigured, and don’t try to fix a store purchase issue by repeatedly changing Shadowrocket settings.
If you need to change your account region, first read the App Store requirements and check whether your balance, subscriptions, and payment method meet them. Proxy settings in the app and the region of your store account are separate matters; changing Global Routing won’t change which account owns a purchase. For guidance on getting Shadowrocket from another storefront, see App Store storefront and account guide. Actual purchase availability depends on what the store shows.
Shadowrocket is sold as a one-time purchase on the App Store. The US storefront reference price is $2.99; other storefronts show local currency, and the price on the store page is final. The purchase covers use of the client app, which reads your existing server details, processes rules, and establishes connections. It doesn’t pay for a particular connectivity service, and the price says nothing about a server’s validity period, speed, availability by region, or data allowance.
If there’s no server entry on Home after purchase, it means connection details haven’t been imported yet—not that the purchase failed. If an entry is present but won’t connect, that alone doesn’t mean the app wasn’t installed correctly. Troubleshoot each stage separately: purchase, import, server response, and rule handling. If your subscription has expired, check your own service details. Buying the app again won’t extend a subscription or fix incorrect server parameters.
After changing devices or reinstalling, look for Shadowrocket in your App Store purchased items. Make sure you’re signed in with the Apple ID used for the original purchase, then redownload the app. If it isn’t listed, check whether you used a different purchase account, hid the app, or are using a storefront where it isn’t available. Keep your purchase records for reference, but note that they won’t restore server details or configuration files inside the app.
App updates are delivered through the App Store. Before updating, keep a copy of your current working configuration. After the update, check that the selected server, Global Routing, and current Config file are as expected. If the interface layout changes, find options by their English labels rather than relying on a fixed position. If an issue appears after an update, reproduce it, note your network conditions, and follow the steps in the troubleshooting guide. Don’t change the server, rewrite rules, and DNS settings all at once, or it’ll be hard to identify the cause.
When using a purchase on two devices, verify the connection on each one. App Store purchase history lets you redownload the app; iCloud features sync or back up data within the app’s supported scope; system authorization is granted separately on each device. Check the App Store page for eligibility under Family Sharing or on other devices. Keeping these steps distinct helps avoid mistaking an account issue for a configuration issue—and prevents losing data that hasn’t been backed up when removing the app.
Your purchase gives you the Shadowrocket client app. To connect, you also need your own existing subscription or server details; they’re managed separately. Check Home for an available entry, then follow the subscription import steps. An app purchase doesn’t confirm that a connectivity service is active.
A test response only confirms a result for the selected test method. Web access also depends on DNS, the destination connection, and routing rules. Check Test Method and Global Routing, then review the rules for the domain that won’t load. Follow the troubleshooting steps to test each part instead of drawing conclusions from a single test result.
The mode name alone doesn’t determine that. Config handles requests according to the selected file, which may route them through PROXY, DIRECT, or another configured policy. Check the current file, then review the rule order and FINAL. Examples explain syntax; they can’t replace a complete configuration of your own. See troubleshooting for more details.
First, make sure you can still access your original subscription or server details. Then back up any configuration files and custom rules you want to keep. Note the current mode and working settings, and confirm that sync is complete. Restoring an App Store purchase and restoring app data are separate steps. See how to restore purchases for the checks to make.
Official Manual / Reading
The user manual covers practical tasks. Start with the basics in the setup guide, then read the topic that matches your needs. Record your current settings before making changes, and test the same request afterward.
Learn what the different views on the Data page show. Use test requests and rule records to understand where traffic is going. Distinguish traffic being recorded from the expected policy being matched; cumulative totals alone don’t indicate connection quality.
Read the guide →Learn what each section contains, how rules are written, and how they’re processed. Identify the scope of each setting before making a targeted change. When reading examples, distinguish instructional domains from real connection details.
Read the guide →Check each possible failure point: DNS resolution, server connectivity, and rule-based routing. Learn why a test response doesn’t guarantee webpage access, and follow a troubleshooting sequence that preserves the current setup, changes one item at a time, and retests.
Read the guide →